Hi there,
In this tutorial, I will walk you through the steps on how to upload a WordPress theme or Plugin via File Manager in the cPanel.
*Let’s Begin with WordPress Theme
I will be uploading the WordPress Theme: DIZA. Ensure you have the files zipped before uploading them to your cPanel.
Step 1
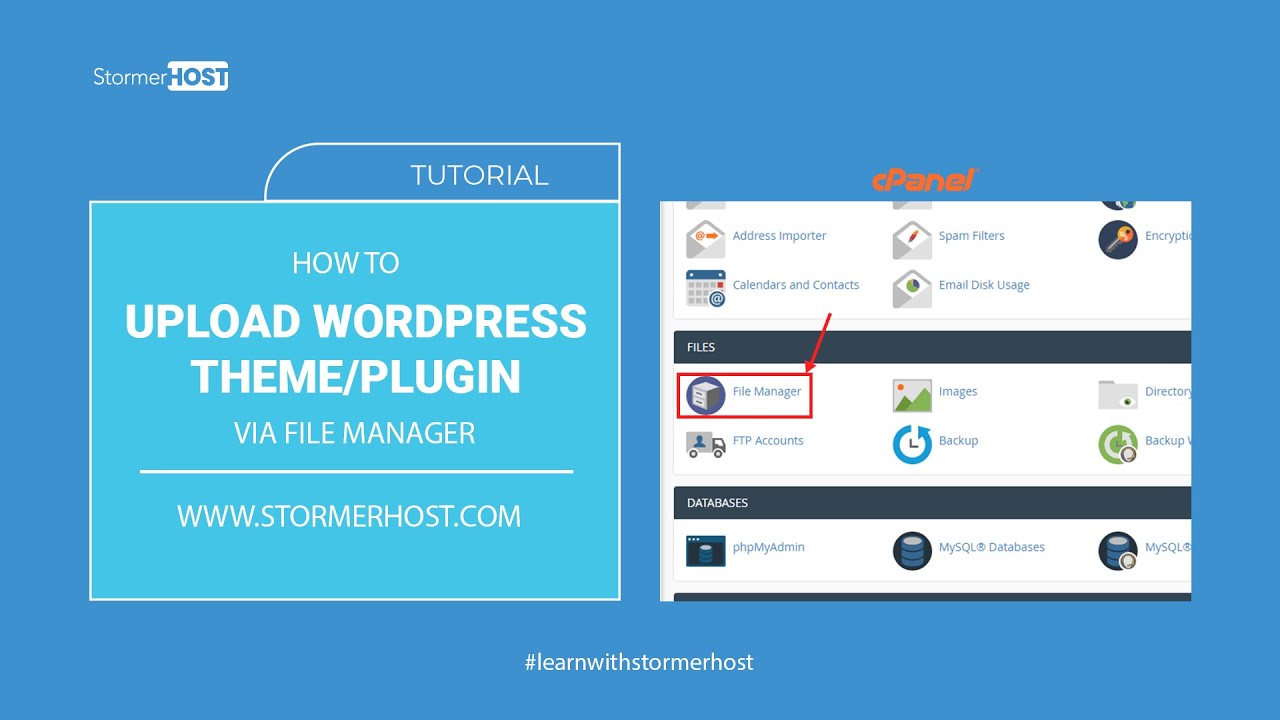
Log into your cPanel. Click on File Manager under the Files Section.
The File Manager Page opens. Double-click on the Public_Html directory on your left. The Directory opens showing a list of your WordPress files.
Click on the wp-content folder and click on the themes folder. The folder opens showing the list of themes you have already installed on your server.
Step 2
Click on Upload at the top of your screen. The upload page opens. You can drag and drop your zipped theme files in the rectangular box or click on select file to choose your file.
Wait for the upload to finish completely. 100% with the green color. Click on the Go Back to move back to the themes page.
The DIZA theme has been uploaded successfully. Now let’s Extract the files.
Step 3
Click on Extract on the top right of your screen. A pop-up appears, click on Extract Files and wait for it to complete. Click on close and click Reload on top of your screen to refresh the page.
Upload Successful.
To Activate the theme, login to your WordPress Dashboard, Go to Appearance, select themes, and click on Active under the theme you uploaded.
*Secondly, Plugins
I will be uploading the js composer plugin. Ensure you have the files zipped before uploading them to your cPanel.
Let’s go back to the Public_Html Directory.
Step 1
Click on the wp-content folder and click on the Plugin folder. The folder shows the list of plugins you already have on your server.
Step 2
Click on Upload at the top left of your screen. The upload page opens. You can drag and drop your zipped Plugin files in the rectangular box or click on the select file to choose your file.
Wait for the upload to finish completely. 100% with the green color. Click on the Go Back to move back to the Plugin page.
The js composer plugin has been uploaded successfully. Now let’s Extract the files.
Step 3
Click on Extract on the top right of your screen. A pop-up appears, click on Extract Files and wait for it to complete. Click on close and click Reload on top of your screen to refresh the page.
Upload Successful.
To Activate the plugin, login to your WordPress Dashboard, Go to Plugins, click on Installed Plugins, and click on Active under the plugin you uploaded.
This brings us to the end of today’s tutorial.
Thank you for watching this tutorial. If you have any questions you can call our support line or send us a message on our website and don’t forget to like and subscribe to our channel.
Stormerhost.com.
——
Music: Bensounds.com
source

