Adobe Photoshop Tutorial –
<
We have sourced some of the best Adobe Photoshop Tutorials online for both advanced and beginner users.
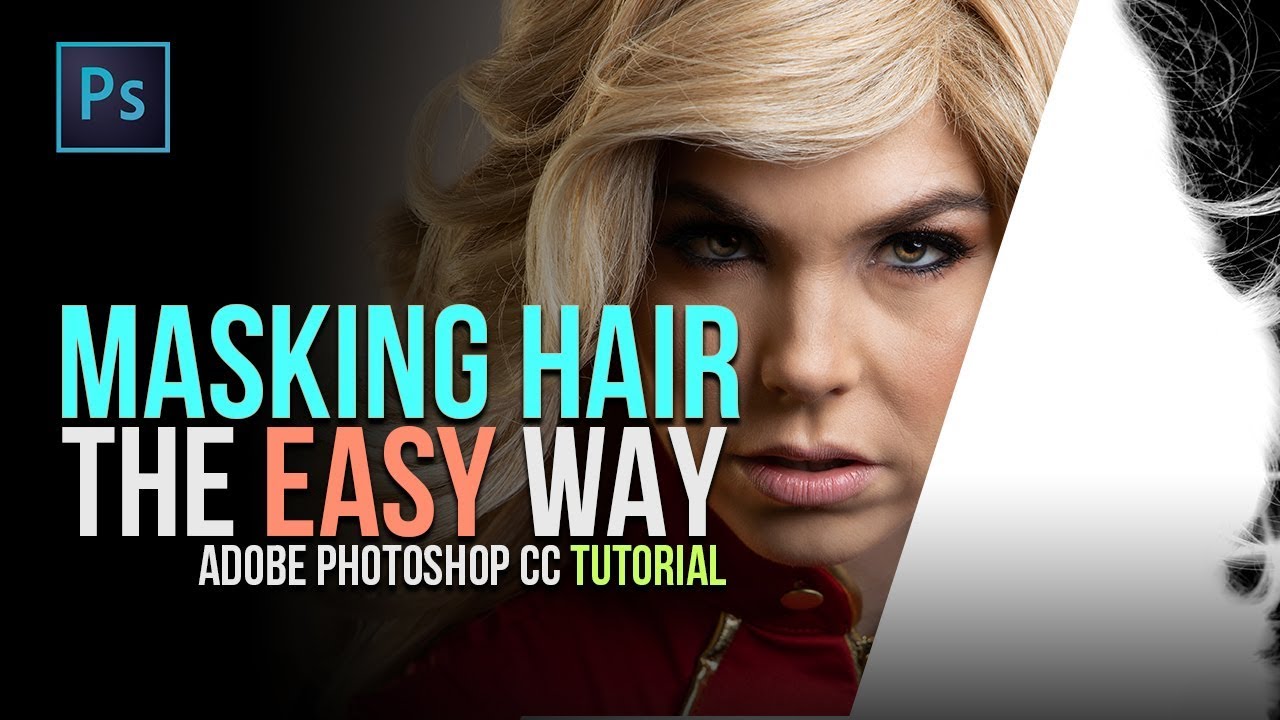
What’s up Creatives?! In this tutorial I cover my process on masking hair with an easy method using channels in Photoshop. First we’ll create the base selection and then deal with fringing after. This is the method I use 95% of the time when working on selecting hair for composites in photoshop.
After receiving a lot of great feedback on my Captain Marvel speed edit series, questions started flooding in regarding this process. Welp, here’s my first and mildly awkward tutorial. I’m sure I’ll get better at recording my thought processes as I do more on camera! This should be a great introduction as to how it’s done. You can find a text breakdown of the process below.
– The key to making selections using this method is to make sure you have a good, contrasting light separation to begin with. In this case I have a charcoal grey backdrop and model with blonde, back-lit hair.
– Duplicate your background image to work non-destructively on a separate layer
– Head into your channels panel, find which RGB channel works best for getting a nice black to white mask around the hair remembering that you want your BG black to be cut out and White on your subject/selection to keep it. You can work in reverse white to black if it works best for your setup ie. White backdrop and contrasting model, just know you’ll have to invert the selection afterward!
– Right Click your preferred channel and select duplicate channel, name it “Alpha” for future reference if needed. Click OK
– With the new Alpha channel selected Grab the BURN tool “O” on your keyboard, Shift + O to cycle between the Dodge, Burn and Sponge Tools. Make sure your burn tool Range is set to Shadows, and around 35 percent or so. You want to be able to build this up.
– Begin burning the outside edge of your hair, keeping the fly aways in tact but turning the background to black. Work your way around the models hair. YOU CAN USE CURVES to assist this process before burning, I meant to make mention of that in the video.
– Switching to the Dodge tool, in your range, select highlights and set the exposure. I find between 35 and 60 to be best most of the time as a starting point. Here you’ll want to dodge the inside of your model, around the inner edges, not getting too close to the outside of the model. This is to set the base for your opaque inner mask while starting a nice transition from your models head to hair. Begin working your way around the entire inner section of the model, keeping in mind that pure white is opaque and anything inbetween has transparency.
– After you’re finished dodging the inner part of your models silhouette, use the BRUSH tool with white as your foreground color, Opacity 100 and pen pressure OFF. You’ll want to paint the entire inner portion of your model white at this point to keep that area opaque. You can also use the Lasso tool here to speed it up creating a selection and filling it with solid white.
– To clean up some of the transition between our inner mask and the hair you can use the DODGE tool again with the range set to Midtones OR set to HIGHLIGHTS with the exposure dropped as to create a buildup effect as you paint. Too harsh and you see a clear opacity shift between your models head and hair. Work your way around the models hair transition.
*
– Once you’re happy with your transition and overall mask Press “CTRL or CMD” and click on the thumbnail of your alpha channel to select your new mask. Head to your layers panel and create a layer mask using the icon at the bottom of the layers panel (rectangle with circle in the middle) This will create the transparency on your layer, removing the background. If adjustments are needed, hold “ALT or Option” and click on your layer mask to open it,tweak your mask accordingly.
*
– To fix any fringing issues quickly, Create a New Layer “Ctrl + Alt + Shift + N” or “CMD + OPTION + Shift + N”. Make this new layer a clipping mask by holding “ALT/OPTION” and clicking inbetween the new layer and layer you want it clipped by. You can also right click and select “create clipping mask” or Hotkeys press Ctrl+Alt+G (Win) / Command+Option+G (Mac).
– Select a color to paint with the Brush tool, 30% ish opacity with a soft brush and pen sensitivity on. To select a color quickly hold down “ALT/OPTION” to bring up the eye dropper and click a surrounding color to be used. Begin painting the hair color on this new layer and watch the fringing disappear. Continue around the model, selecting new surrounding colors and creating a nice realistic breakup.
– If you find you want to remove certain fly away hairs, select your models layer mask and paint black to remove them.
– You may desire to paint some new hair details on top of everything, Simply add a new layer on top of your layer stack and select a hair brush (plenty free on Deviant Art). Select a color using the methods above and begin painting/building up the new hair
Model: Jackie Green / @jackieonair
source

