Do It Yourself – Website Tutorials
Hello Friends If this video was helpful for You please subscribe to my channel
try to watch my other tutorial videos
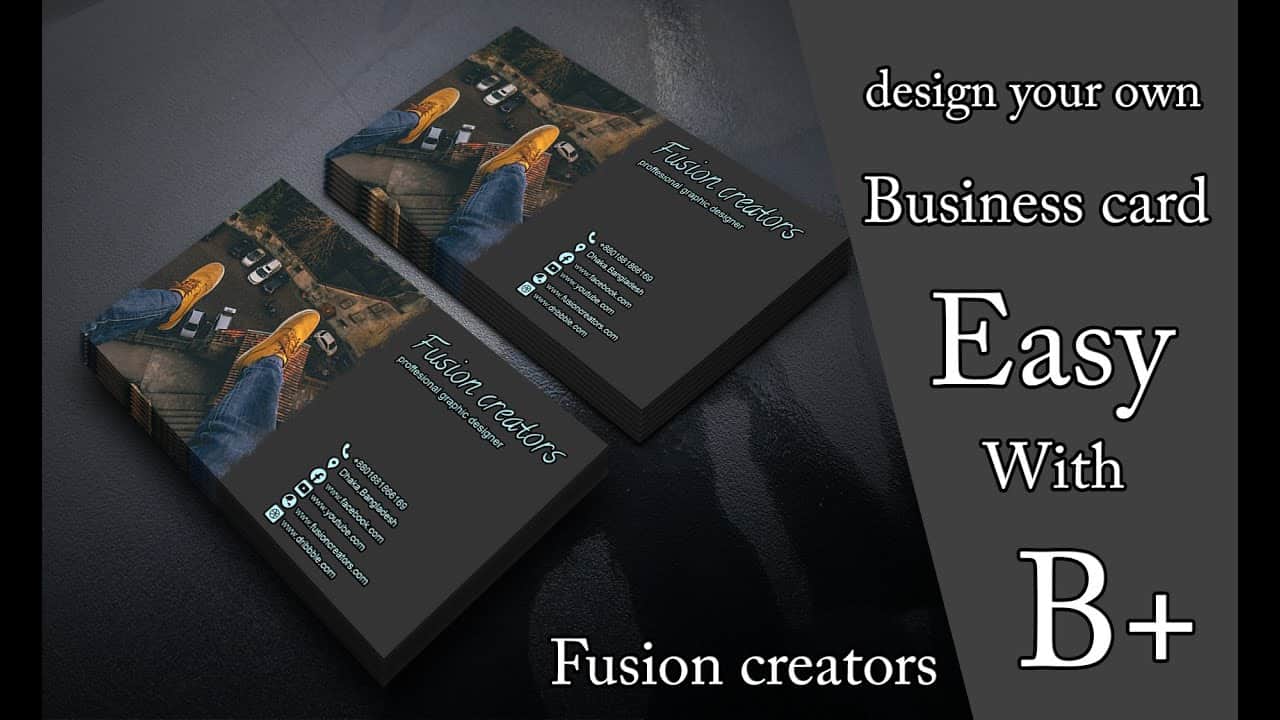
Do you want to design a business card for yourself? If you’re a photographer, you may want a creative business card to give out to potential clients at networking events and to spread word of mouth. In this article, we will show you how to create a business card template in Photoshop.
If you don’t have it yet, you can get Photoshop from Adobe’s site here.
Creating a Business Card Template
First thing you should know for a business card template is the standard size. A business card can be any size as you want, but the most common size is 3.5″ x 2″.
Let’s start by creating a new white Photoshop file with these dimensions. From your Photoshop screen, select File » New. Choose “Custom” as the Document Type and enter the width and height of your business card (make sure to change the drop down menus to “Inches”).
New Document
Next, you’ll need to identify the “safe area” by adding guides on all four sides of the card. The safe area is the area where it is safe to include your text: some printers are unable to print outside of this area.
To add guides, select View » New Guide Layout. Uncheck the boxes next to “Columns” and “Rows”, and instead check the “Margin” box. Then you can enter the Top, Left, Bottom and Right margins to define your safe area.
new-guide-layout
Hit the OK button. Now you’ll see four blue guides appear over your image.
Safe Area
Next, open your logo file in Photoshop and move it to your original file (drag and drop). Go ahead and add your logo at the top left corner of the document.
Then you should adjust the size of the logo, so it looks good in the top left corner.
Add Logo
After the logo, add the text for your name, designation, contact details, website and more. To add the text, you’ll need to choose the Horizontal Type tool from the toolbar at the left side of your Photoshop screen.
Add Text
Make sure that the font style for your name is in bigger and bolder text, so it really shows up on the card. The other text can be smaller and thinner.
It’s also a good idea to leave some free white space on your card so it isn’t too cluttered. Feel free to add your own unique creative touches to make your card more memorable. (For example, I copied the logo layer, rotated it, and reduced the opacity, placing it on the bottom right corner.)
Check out the final business card template in the image below:
Business Card Template
We hope this article has helped you to learn how to create a business card template in Photoshop. You may also want to check out our guide on how to add a photography client booking form in WordPress.
If you like this article, then please follow us on Facebook and Twitter for more free photo editing tutorials.
source

