Do It Yourself – Website Tutorials
Get my FREE Flower Garden for waterslide decal design at https://jennifermaker.com/waterslide-decal-tutorial/
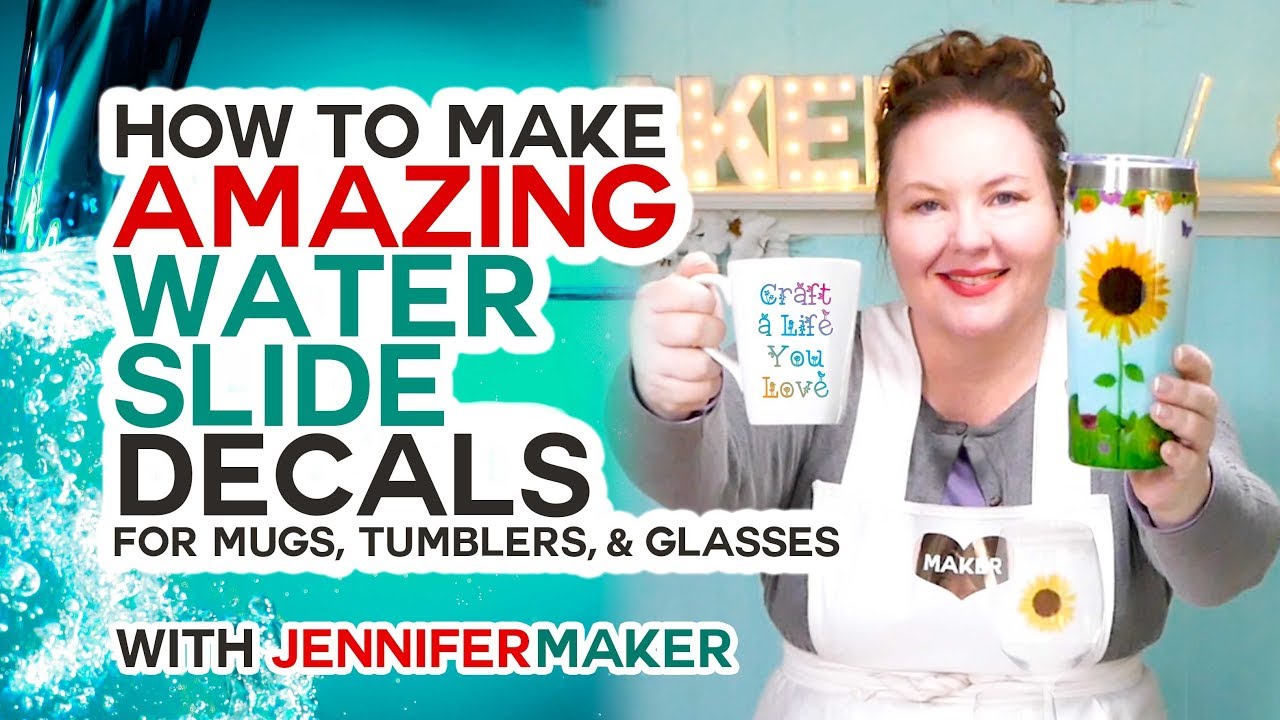
Learn how to print beautiful full-color waterslide decals at home, cut them on your Cricut and apply them to tumblers, ceramics, and glass.
MATERIALS LIST (includes my affiliate links):
– Printable Inkjet Waterslide Decal Paper (I used this exact pack of paper for inkjet printers: https://amzn.to/2U2K2WT
You can also get this decal paper for laser printers here: https://amzn.to/2EvAxdh
– Acrylic Sealer Spray (Gloss) – I used this exact spray sealer: https://amzn.to/2GZM7z2
– inkjet printer. I used this exact printer: https://amzn.to/2VaJeiE
– Something to put your decal on, such as a glitter tumbler, ceramic mug, or glass
– Rubbing alcohol (to clean your surface before applying the decal)
– A bowl of tap water large enough to completely submerge your largest decal
– Paper towels
– A way to cut your decals (I used the amazing Cricut)
– My flower garden design (available in my free resource library at https://jennifermaker.com/library )
UPDATES/CHANGES: Check for any updates, changes, or additional videos for this project at https://jennifermaker.com/updates
About a year or so ago, someone asked if I’d show them how to make a waterslide decal for a mug. And I remember thinking, water-what? It’s called waterslide because you soak the decal paper in water, which allows it to slide off the paper backing and onto your surface!
For this project, you’ll want to start with a smooth surface — you can use a glitter tumbler as I did. Or you could use a mug, glass, plastic, or even wood.
You’ll also need a printer — I made mine with an inkjet printer, but they also sell waterslide decal paper that works with a laser printer.
And you’ll need the waterslide paper itself. I recommend the transparent paper if you want to be able to see the surface through it, which is what I’m using.
Other supplies and tools you’ll want to have on hand are a can of acrylic sealer, a bowl of tap water and some paper towels.
You’ll need a design! You can make your own, buy one, or use my flower garden design — the garden in this design is filled with images of my paper flowers and paper butterflies! If you make your own, keep it simple — no little bits or thin lines. A rectangle or circle shape works best, but if you’re applying your shape on something like a wine glass, it’s better to go for a precise shape that conforms to the edges of your design.
STEP 1: FIND OR MAKE A WATERSLIDE DECAL DESIGN IN CRICUT DESIGN SPACE
STEP 2. PRINT YOUR WATERSLIDE DECAL FROM WITHIN CRICUT DESIGN SPACE
Print your decal design on the waterslide paper with print settings on glossy photo paper with best quality print. Be sure you print on the glossy side of the paper.
Wait 5 minutes after printing your waterslide decal paper to allow it to dry before moving on to the next step.
STEP 3: SEAL YOUR WATERSLIDE DECAL
In a well-ventilated place, spray acrylic sealer over the entire surface of your now-dry printed sheet.
Wait several minutes and repeat with another coat of acrylic sealer. Then repeat one more time with one more coat of acrylic sealer.
When finished sealing, there will be three coats of acrylic sealer on your printed sheet.
STEP 4: CUT YOUR WATERSLIDE DECAL
STEP 5: PREPARE YOUR SURFACE
Clean the surface you plan to put your waterslide decal on with alcohol.
STEP 6: APPLY YOUR WATERSLIDE DECAL
Get a bowl of water large enough for your decal to be completely submerged in.
Submerge your decal in the water for 30-60 seconds. While you’re waiting, get the surface of your tumbler, mug, or glass wet (this will help it slide on easier).
Slide the decal off the backing and onto your surface.
STEP 7: DRY YOUR WATERSLIDE DECAL
Wait at least three hours for your waterslide decal to dry before moving on to the next step. Keep your decal out of direct sunlight during this time.
STEP 8: SET OR SEAL YOUR DECAL
To set ceramics or glass, follow the directions on your waterslide decal package.
To seal a tumbler, do another coat of epoxy.
#Cricut #CricutMade #DesignSpace
============
Follow me online at:
Website
https://jennifermaker.com
Facebook
https://www.facebook.com/jennifermakercrafts
Instagram
https://www.instagram.com/jennifer.maker
Pinterest
https://www.pinterest.com/jenuinemom
Please subscribe to my channel at https://www.youtube.com/c/jennifermaker for more video tutorials that can help you handcraft your home with heart!
Prefer to get my updates and free project patterns delivered straight to your e-mail inbox? Subscribe to my free newsletter at https://jennifermaker.com (scroll to the bottom)
Credits:
Introduction: PixelBytes (my child!)
Music: Cute by Bensound (licensed, royalty and copyright free)
Videography: Jennifer Marx on a Panasonic Lumix FZ-1000 DSLR 4K camera
Design: A Jennifer Maker original!
source

