Do It Yourself – Website Tutorials
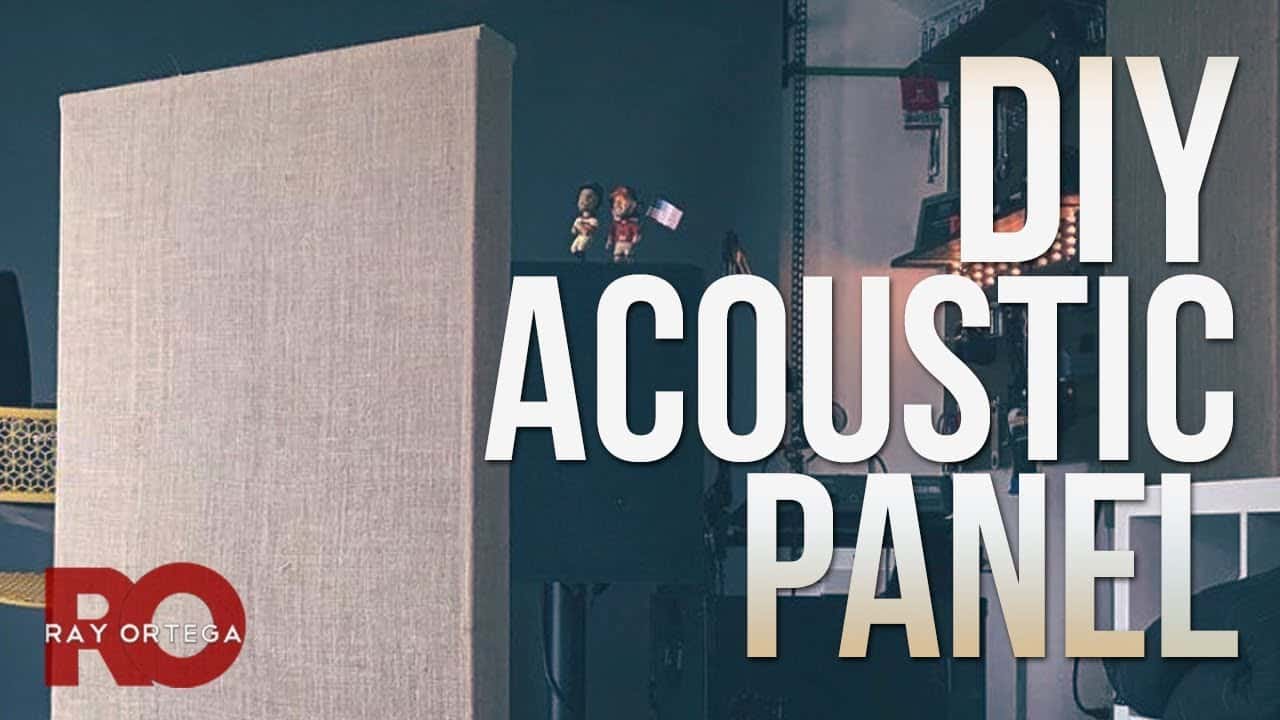
How do you dramatically improve your audio? Record in a space that’s treated for sound. Below are all the tools, materials & instructions for building affordable acoustic panels. DIY Kit: https://kit.co/rayortega/diy-acoustic-panel
How-to:
Also see: http://thepodcastersstudio.com/diypanel
Approximate total cost per panel (materials only): $25
Music by PremiumBeat.com.
License this music: http://bit.ly/1BJbspm
Tracks:
Blue Notes by: Mattijs Muller
BUILD
Step 1: measure for cuts
Take one of the 1 x 4 x 8 planks and make a mark at 47″ inches.
On that same plank, make the next mark at 24.5″ and what is left over will be another 24.5″ piece.
Repeat the measurements above on another 1 x 4 x 8 plank.
Take another 1 x 4 x8 plank and make marks for two 47″ pieces.
Take the 1 x 3 x 10 plank and make a mark every 9 inches. Then make a mark for two 23″ pieces.
Step 2: cut
Once you cut all your wood planks where you marked them, you’ll have four 47″ pieces for the sides of two frames and four 24.5″ pieces for the top and bottom of two frames.
Once you cut the 1 x 3, you’ll have eight 9″ corner pieces and two 23″ back pieces.
Make 45 degree angle cuts at each end of the eight corner pieces to complete these pieces.
Step 3: drill
Drill two pilot holes into each corner of the 24.5″ pieces that form the top and bottom of you panel. Use a 7/64 or similar drill bit and drill through to the other side.
Line up these boards with your 47″ side boards and drill through the holes you just made to make pilot holes in the tops and bottoms of your side pieces.
Line up the back piece and the corner pieces onto the frame and drill pilot holes, one each, into the middle of each 23″ back piece and each corner piece.
Insert screws.
Step 4: insulation and covering
Drop one piece of 2’x4′ insulation into your frame.
Flip the frame over and cover the back with a piece of backing. Cut to fit and staple to the frame to secure.
Lay out a piece of burlap or the covering of your choice that is at least 40 inches wide x 55 inches long. You need to make sure you have enough material to wrap around the side and tops.
Start with the top of bottom side, wrap your fabric around the frame and place one staple into the middle and one into each corner.
Go to the opposite side and repeat the same process, remembering to pull tight as you staple.
Go to the side of the panel do this same process, one staple in the middle and each corner.
Turn over the entire panel and make sure your covering is tight across the panel.
Flip the panel back over and proceed to insert one staple approximately every inch, going around the entire panel, pulling tight as you go.
For the corners, fold the excess fabric in half forming a 45 degree angle and wrap it around the top and bottom corners of the panel, pull tight and staple to the back.
Step 5: finishing and hanging
To finish the panel, attach two 1-1/4″ cork stoppers to each of the bottom corners of your panel. This will create space between the wall and your panel so that sound reflections can get trapped in the back of the panel.
To attach to the wall, I used one eye lag screw that allowed me to go straight into a stud and another screw with a wall anchor so that I didn’t have to worry about finding another stud and could place the screws any distance I needed.
I made two holes in the back of the panel and hung them on the wall screws that I left a couple inches out from the wall to create enough space to create a gap between the panel and the wall.
TOOLS I USED**
Speed square or any straight edge https://amzn.to/2GEToEL
Saw https://amzn.to/2uxReC4
Gloves https://amzn.to/2uxReC4
Staple gun https://amzn.to/2pToEX0
Staples https://amzn.to/2IqPgWd
Drill and drill bits https://amzn.to/2EaheTi
Saw horses https://amzn.to/2pQk7Vd
Mitre box (for cutting angles): https://amzn.to/2Sbq10g
MATERIALS
makes two 2’x4′ frames
(3) 1″ x 4″ x 8′ wood planks
(1) 1″ x 3″ x 10′ wood plank
Insulation (Rockwool 24″) ~$53 https://www.lowes.com/pd/ROCKWOOL-SAFE-n-SOUND-R-Stone-Wool-Batt-Insulation-with-Sound-Barrier-15-25-in-W-x-47-in-L/3394032
Alt. that I’ll use next time, recycled denim: https://www.homedepot.com/p/UltraTouch-R-6-7-Denim-Insulation-Roll-16-in-x-48-in-6-Pack-60306-16482/202710055?cm_mmc=Shopping%7CG%7CBase%7CAll-Products%7CAll%7CAll%7CPLA%7c71700000014585962%7c58700001236285396%7c92700010802552346&gclid=EAIaIQobChMIsfKX2LbB4QIVzh-tBh1aegh4EAQYAyABEgJngPD_BwE&gclsrc=aw.ds
Screws https://amzn.to/2J83ZX3
Weed barrier
Burlap https://amzn.to/2pU7IQb
🎥 🖥 GEAR USED TO MAKE THIS VIDEO 🎤
► Sony a6500: http://podhelp.me/Sonya6500bodyZon
► LENS: Sony FE 28mm F2: http://podhelp.me/sonyfe28f2BH
► AT875R for VO: https://amzn.to/2GLU0s4
► Zoom F8: http://podhelp.me/ZoomF8Zon
► Transcend 65GB SDXC card for 4K http://podhelp.me/Trans64U3zon
► Rode RodeLink Wireless http://podhelp.me/rodelinkwirelesslavBH
*all links should be considered affiliate links.
#DIY #acousticpanel #homerecording
source

