Adobe Photoshop Tutorial –
<
We have sourced some of the best Adobe Photoshop Tutorials online for both advanced and beginner users.
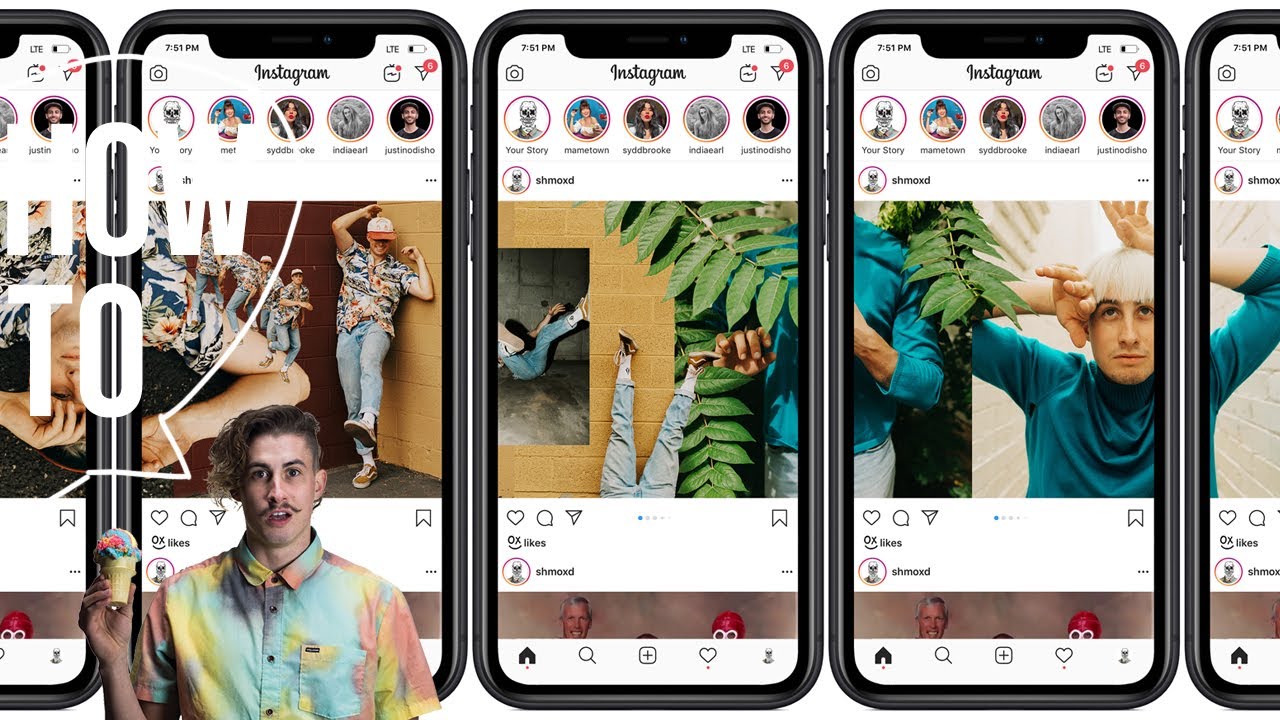
HEY! I made a drag n drop template on photoshop for a seamless, panoramic, collage, carousel post on instagram.. so I thought I would share how. I guess this is more of a photoshop tutorial.. ¯_(ツ)_/¯
I also have the template and some more tutorial videos available on my web site:) www.shmoxd.com/shop
First 100 who use the discount code will get 25% off: SHMOXDED
SOooo lets get into the tutorial:)
I found out the max pixels sizes for a square instagram post is 2048 x 2048. So make your new art board that size… butttttt.. we want 10 squares. 10 is that max photos you can put on a carousel. Soo.. make your width 20480
next go to ‘view’ at the top and click ‘new guide layout’. A lil box will pop up and you want to click the lil box next to columns. set number at ’10’ and gutter at ‘0’
This is your basic layout for the collage:)
some setting you want on your top bar:
I like to have ‘auto select’ checked (that makes it so you can grab item from your art board just my clicking them with the move tool, instead of having to go to the layers). Also have ‘Show transform controls’ checked (that way you can adjust the photos size by grabbing the corner of it). With that checked, make sure the lil’ link in-between the numbers that show the size of your photo is clicked. That will keep the size ratio of the photo so it doesn’t get all stretched (you can also just hold down shift as you adjust the photo size:).
Another thing you will want, is to have your photos and tools snap to the guides. So go to ‘View’ again and click ‘snap to’ and make sure ‘guides’ has a check mark next to it (if it doesn’t… just click it). That way your photos will be right on the edge of each carousel slide.
once you have your collage the way you like it –I like to have some photos overlapping the guide lines so it makes for a cool lil effect when you slide the carousel across– then use the crop tool to crop in the left and right side of the art board to make a square on that first square. Save that as a .jpeg and then command z to get the crop undone…. then crop it again. This time crop it on the second square.. save.. command z… then third square.. then fourth square… etc. Until you have lil squares of all the photos your want (you don’t have to do 10 that’s just the max instagram will let)
Post it on instagram as a carousel.. and before you click share on the upload screen.. there is a lil preview you can look at, at the top right. Check and make sure all the seams are niceee and 👌🏻👌🏻 then post it:)
Thereeee ya go…
I’m sure there are other tricks and tips that would make this easier.. I’m not a super pro at photoshop. So if you have tips.. be sure and leave them in the comments:) Thanks!!
Join my email list!:
https://www.shmoxd.com/news
Follow me and watch the art process:
Instagram: https://www.instagram.com/shmoxd/
Twitter: https://twitter.com/shmoxd
Spotify: https://open.spotify.com/user/12149338898
Facebook: https://www.facebook.com/shmoxd
Patreon: https://www.patreon.com/shmoxd
Buy some stufffff from me: https://www.shmoxd.com
Subscribe: https://www.youtube.com/channel/shmoxd?sub_confirmation=1
Like. Comment. Share.. or what ever.. ¯_ (ツ) _/¯
source

